Gardening is NOT one of my strong suits. I begged my husband over and over to hire a trained/professional landscaper to come and work on this project. However being such a small project and the limited amount of money we wanted to spend...I'm sure no landscaper would have touch this job.
So we got down and dirty in the garden...
How We Picked Our Flowers
I started with my colour combination. We had plenty of evergreen existing, actually too many we took one out. I wanted a lot of colour but I was also trying to do something with the fire hydrant which is yellow and blue. So...yellows with shades of blues and purples is the direction I wanted to go. However I did find one flower that did not fit into that scheme BUT I just had to have it. We also had some pre-existing flowers that to did not fit the colour combo that I went with but I think they all will add that little POP that a garden needs.
First thing I learned shopping for my flowers were there are A LOT of yellow flowers...blue not so much, that is why I needed to bring in the purple. Second thing that we learned July is a great time to buy your flowers if you are trying to save money, all of our flowers were 40-50 % off...Great Deals!
Down and Dirty Tips
The information that comes on the tag of the flower is SOOO important when purchasing your flowers. We wanted to make sure that we had all different shapes and heights within our flower beds and the info on the tags really helped us out with this. You purchase these sweet little flowers however some of these "little flowers" grow into huge flowering bushes, you want to make sure you have room for them when they have matured. Also very important, know the exposure tolerance for the flowers/plants. There is no point wasting your money and time just to plant a flower in the full blown sun when it's exposure is part sun...NO MATTER HOW NICE IT LOOKS! We learned this the hard way! We had to make a couple adjustment with our layout after we finished planting because a few of our flowers were not doing very well as they were in the wrong sun exposure.
Our Flowers
#1. 3 Yellow Daylilys
#2. 2 Moonbeam Coreopsis
#3. 3 Blue Clips Bellflowers
#4. 2 Jack Frost Brunnera
#5. 2 Lime Rickey Coral Bells
#6. 1 Ajuga tenorii (chocolate chip) Begleweed
#7. 1 Dwarf Bearded Iris
#8. 2 Blue Ice Blue Star
#9. 1 Hybrid Cowslip Primrose
#10. 1 Rhododendron
#11. 1 Cushion Spurge
#12. 1 Russian Sage
#13. 1 Goldwell Creeping Speedwell
#14. 1 Lavandula Stoechas (Boysenberry Ruffles)
Other Front Yard pictures and blog post A Face Lift For The Front Yard
We purchased our flowers from Cedarhurst Landscaping LTD and Zehrs Gardening Center.
Home decorating our way. Turning our house into a home one post at a time.
Showing posts with label front yard. Show all posts
Sunday, July 29, 2012
Thursday, July 19, 2012
A Face Lift For The Front
The very first thing people see pulling up to your house is obviously the front yard. I think it may be one of the most over looked areas of a home. Our front yard needed a face lift. It had good "bones" and great potential to look beautiful but first it just needed a little nip & tuck. Our Goal: To make the front yard look Fresh & Clean with a splash of colour and some creative features without spending a lot of money.
The Problem Areas: 1. The garden beds needed a little work 2. There was a tiny tree in the middle of the yard 3. The lawn was full of weeds 4. The pond 5. The fire hydrant Our Solutions: #1 Remove the lawn (A.K.A weeds)
The Sod Cutter is a great tool for getting the old lawn out. It makes a cut from one side of the lawn to the other and all you need to do is roll the strips up and carry them away. We rented this one for $54 for the day but watch out because that thing ViBrAtEs like crazy.
#2. Re-define The Flower Beds. We wanted the flower beds to continue from the top to the bottom of the yard all the way along the drive way. So after we removed the old lawn, smoothed and leveled 2 yards of top soil ($40 pickup) we added new edging to the area for the new flower beds. We saved a lot of money as well as work hours by connecting the 2 existing flower beds to create one long continues bed that flows nicely from the top to the bottom of the yard.
#3. Clearing Out The Existing Flower Beds Once step #2 was complete. We began removing the old decorative stone which filled the 2 existing flower beds. We recycled the old decorative stone and filled in the side of the house which soon with be filled with some plants.
#4. New Mulch & Beach Stone We decided to go with black mulch and beach stone to fill the beds in the front yard.
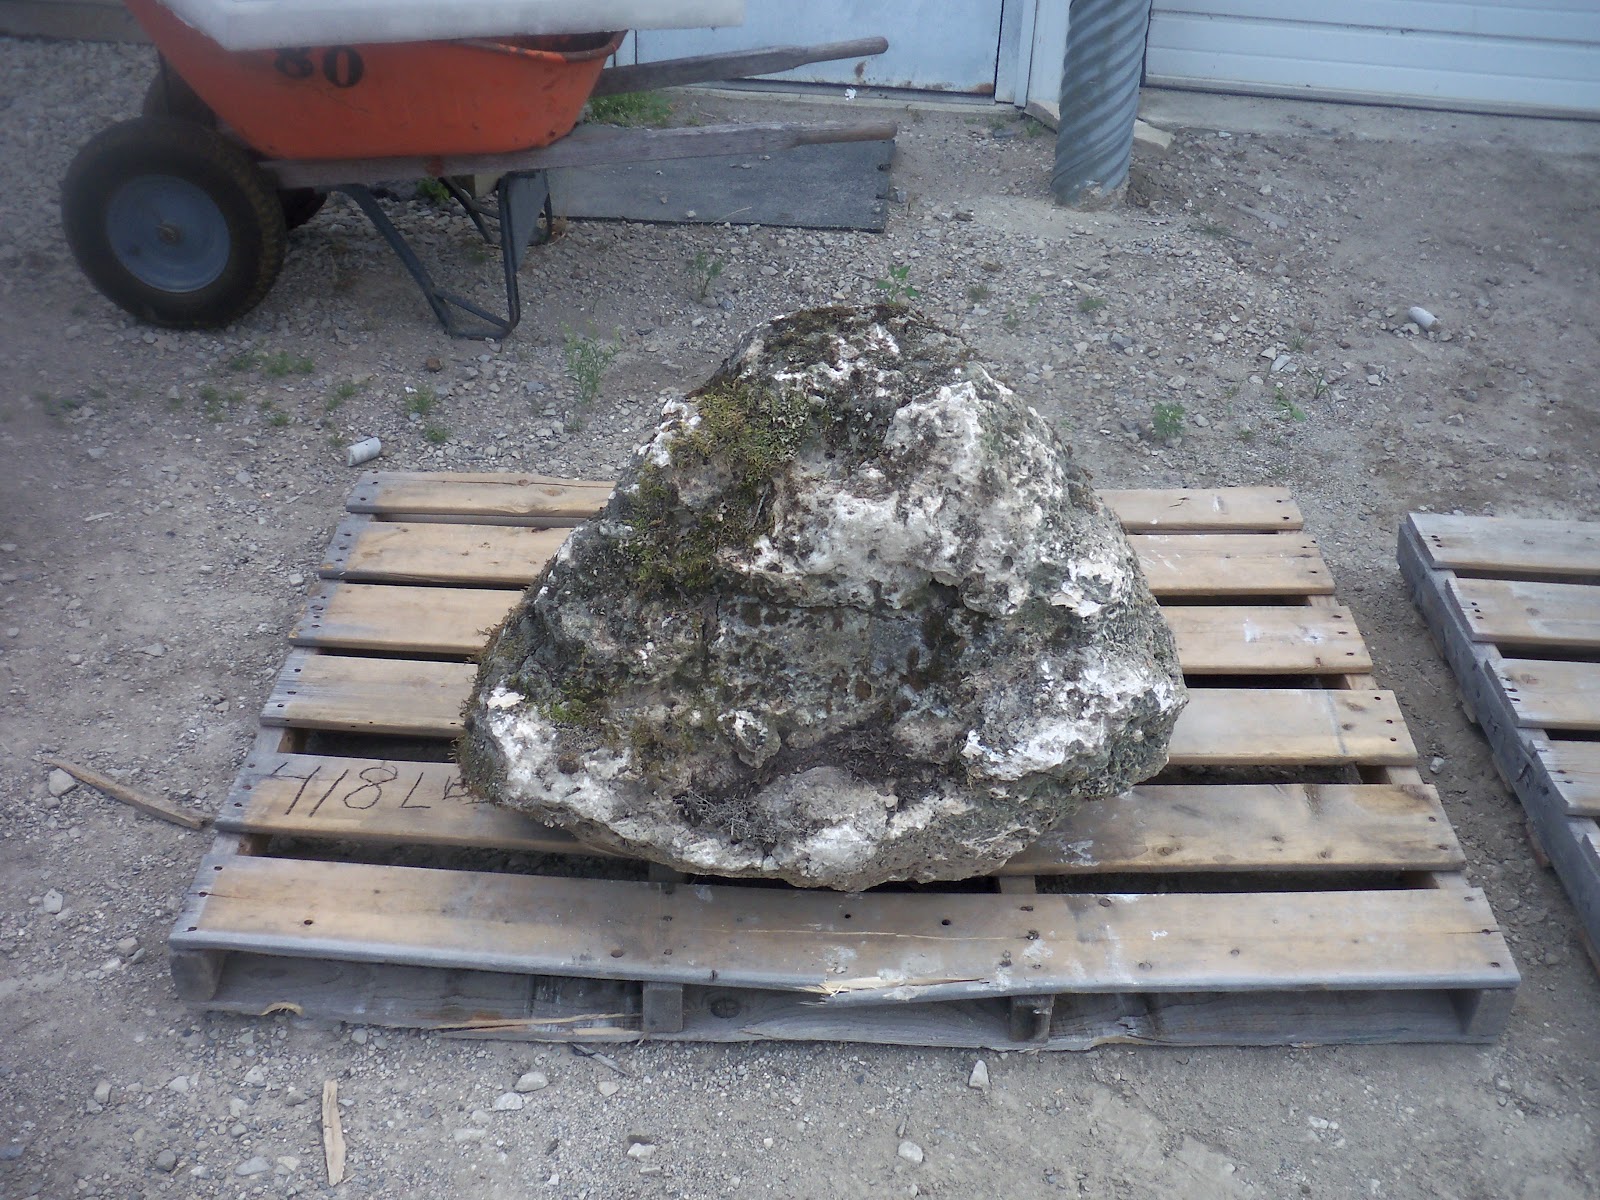
Like I said before the front yard had some great features that we were able to reuse. The stones you see in this picture, we were able to incorporate them back into the new landscape design. We also made many design choices around the mature plants (mainly evergreens) that had been previously planted. This again allowed us to same a lot of money as well as time.
#5. Moving The Tree In The Middle Of The Yard This poor little tree just looked so pathetic sitting all alone in the middle of the yard. As soon as we decided to give the yard a face lift this tree was first on our list of things we wanted to change.
We placed the lonely tree in our newly made flower bed. This however was not the first choice. Upon digging a hole for the tree in our first choice we realized that there was a layer of what seemed to be concrete only a few digs beneath the soil. So we went looking for an alternative spot. Using a push broom for a visual we found a new spot and again we hit concrete. It's final resting spot was choice #3 but I think that it worked out just fine.
#6 Flowers For the Hydrant . Although we had many preexisting evergreens we were lacking some colour and the blue and yellow painted fire hydrant was still an issue for me. My first thought was to find some plant/flowers/bushes to cover up/hide the hydrant but then I thought maybe we could blend with the hydrant. So we went shopping for some blue and yellow colour. What a great time to shop for plants. All of our plants and flowers were 40%-50% off. We saved a lot of money and were able to pick up some great plants and flowers for a great price.
When planting flowers and plants I like to lay it out, placing the flowers and plants around where they will be planted. It is much easier to move flowers/plants around when they are not in the ground. Another great tip, read the information that is given about the type of flower/plant that you are planting. It is very important to check the size your plants/flowers will grow to as it matures. Also you want to make sure you know the amount of sun or shade your flowers need.
Finally things are starting to come together. I love the contrast of the Beach Stone and the black mulch.
#7 New Sod. There is nothing better then adding a nice green thick lawn to spruce up your front yard.
And we are almost there...a few more surprises and our front yard face lift will be complete.
Our Next BIG Project For The Front Yard
| our stone |
Subscribe to:
Posts (Atom)